As a kid, traveling abroad meant just following your family around. But now that you’re an adult taking your first solo trip or independent travel, does the maze-like airport process feel overwhelming?
Think of an airport as a precision assembly line — you’re the valuable package being processed, and each checkpoint is there to sort you, scan you, and deliver you precisely to your destination.
Once you understand what each checkpoint does, getting through is as easy as playing a game!
Pre-Departure Warm-Up: 4 Things You Must Sort Out
Before stepping into the airport, if you don’t have the “basic gear” ready, you might not even get in the door.
| Item | Details |
|---|---|
| Passport & Visa | Check that your passport is valid for at least 6 more months. Also, confirm whether your destination offers visa-free entry — Japan is visa-free, but the US or Australia requires an electronic visa application. |
| Understand Your Ticket Info | After purchasing your ticket, confirm which airport (e.g., Taoyuan Airport or Songshan Airport) and which terminal you’re departing from. |
| Online Check-in | This is a “hack” I strongly recommend. Check in and choose your seat on the app 24-48 hours before departure — it’s like getting a queue number before the line even forms, saving you tons of waiting time on-site. |
The Airport Departure Gauntlet: Why Arrive 2 Hours Early?
Many people think: “The plane hasn’t even left yet — why should I go in early just to sit around?”
Those 2 hours are actually your “margin of error.”
If anything along this assembly line gets stuck (e.g., the guy ahead can’t unbuckle his belt, your luggage accidentally has a battery inside, or holiday crowds are overwhelming), this buffer time is your lifeline.
Step 1: Check-in & Baggage Drop
Hand your passport to the counter to get your “boarding pass,” and send your heavy suitcase off on the conveyor belt.
- Pro tip: If you’ve done online check-in, you can usually use a dedicated counter — much faster!
Step 2: Security Screening
This is the checkpoint that makes first-timers the most nervous. You’ll need to put your bag, jacket, and belt into a tray for X-ray scanning.
- Why take out your laptop and tablet? Because their components are too dense for X-rays to see through, blocking what’s underneath.
- Liquid rules: Each container must be under 100ml, total volume within 1 liter, and all must be placed in a clear resealable bag.
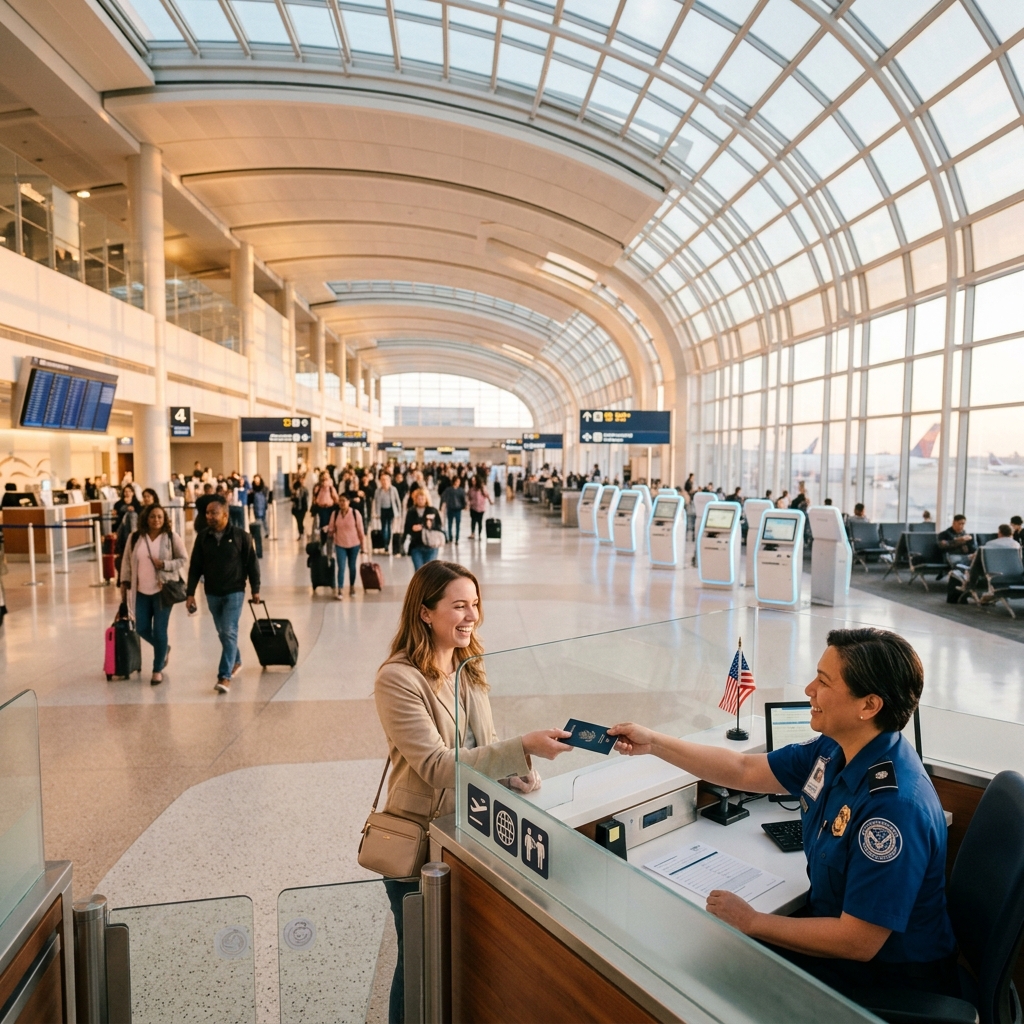
Step 3: Immigration Control
The government confirms you’re “legally departing.”
- Highly recommend Automated Gates (E-Gate): A 10-second face scan and you’re done — no need to practice your patience standing in line with everyone else.
Step 4: Head to the Boarding Gate
Don’t get lost shopping at duty-free! Boarding usually starts 30-40 minutes before departure, so find your gate first, gauge the distance, and then go browse the shops.
Quick Reference: Departure Process
| Step | Key Actions | Common Mistakes |
|---|---|---|
| Check-in | Show passport, check in large luggage | Being late (counters usually close 60 min before departure) |
| Security | Take out electronics, remove jacket & belt | Carrying water, putting power banks in checked luggage (big no-no!) |
| Immigration | Face scan or passport stamp | Not having passport ready, going to wrong gate |
| Find boarding gate | Locate your gate, note the distance | Getting lost in duty-free shopping, going to wrong gate |
| Boarding | Show passport and ticket | Being late, forgetting to have passport and ticket ready |
Arriving in a New World: The Three-Part Entry Process
After landing, just follow the “Arrival / Immigration” signs and you’ll be fine.
| Step | Details |
|---|---|
| Quarantine & Immigration | They’ll check your health status and verify your identity. If you’re going to Japan, it’s highly recommended to fill out the arrival card on the plane, or apply for a Visit Japan Web QR Code in advance — it’ll save you a lot of time. |
| Baggage Claim | Find your suitcase at the carousel. Remember to check the tag — don’t grab someone else’s generic black suitcase by mistake. |
| Customs | If you have nothing to declare, take the “green channel.” Be honest with customs — if you’re carrying prohibited items (like meat products or excess tobacco/alcohol), you must declare them. |
Returning Home Without a Hitch: Final Reminders
The return process is largely the same, but since you’re in a foreign country, unfamiliar with the area and possibly needing to handle tax refunds, it’s recommended to arrive at the airport 3 hours before departure.
Additionally, some countries (such as Taiwan) have very strict customs enforcement on meat products and e-cigarettes — don’t risk crossing the line just because you miss home flavors or want to bring back souvenirs. The fines will haunt you for a long time.
So when buying souvenirs, pay extra attention to whether they can be brought back into the country.
Conclusion
Airport procedures are ultimately about ensuring “you’re safe, and the plane is safe.” Just follow the signs and understand these simple rules, and you’ll breeze through like a seasoned traveler!
Three quick tips for smooth security: Keep electronics in the outermost layer, consolidate liquids in a clear bag, and avoid wearing metal buckles.
Got your passport ready? Have a great trip!